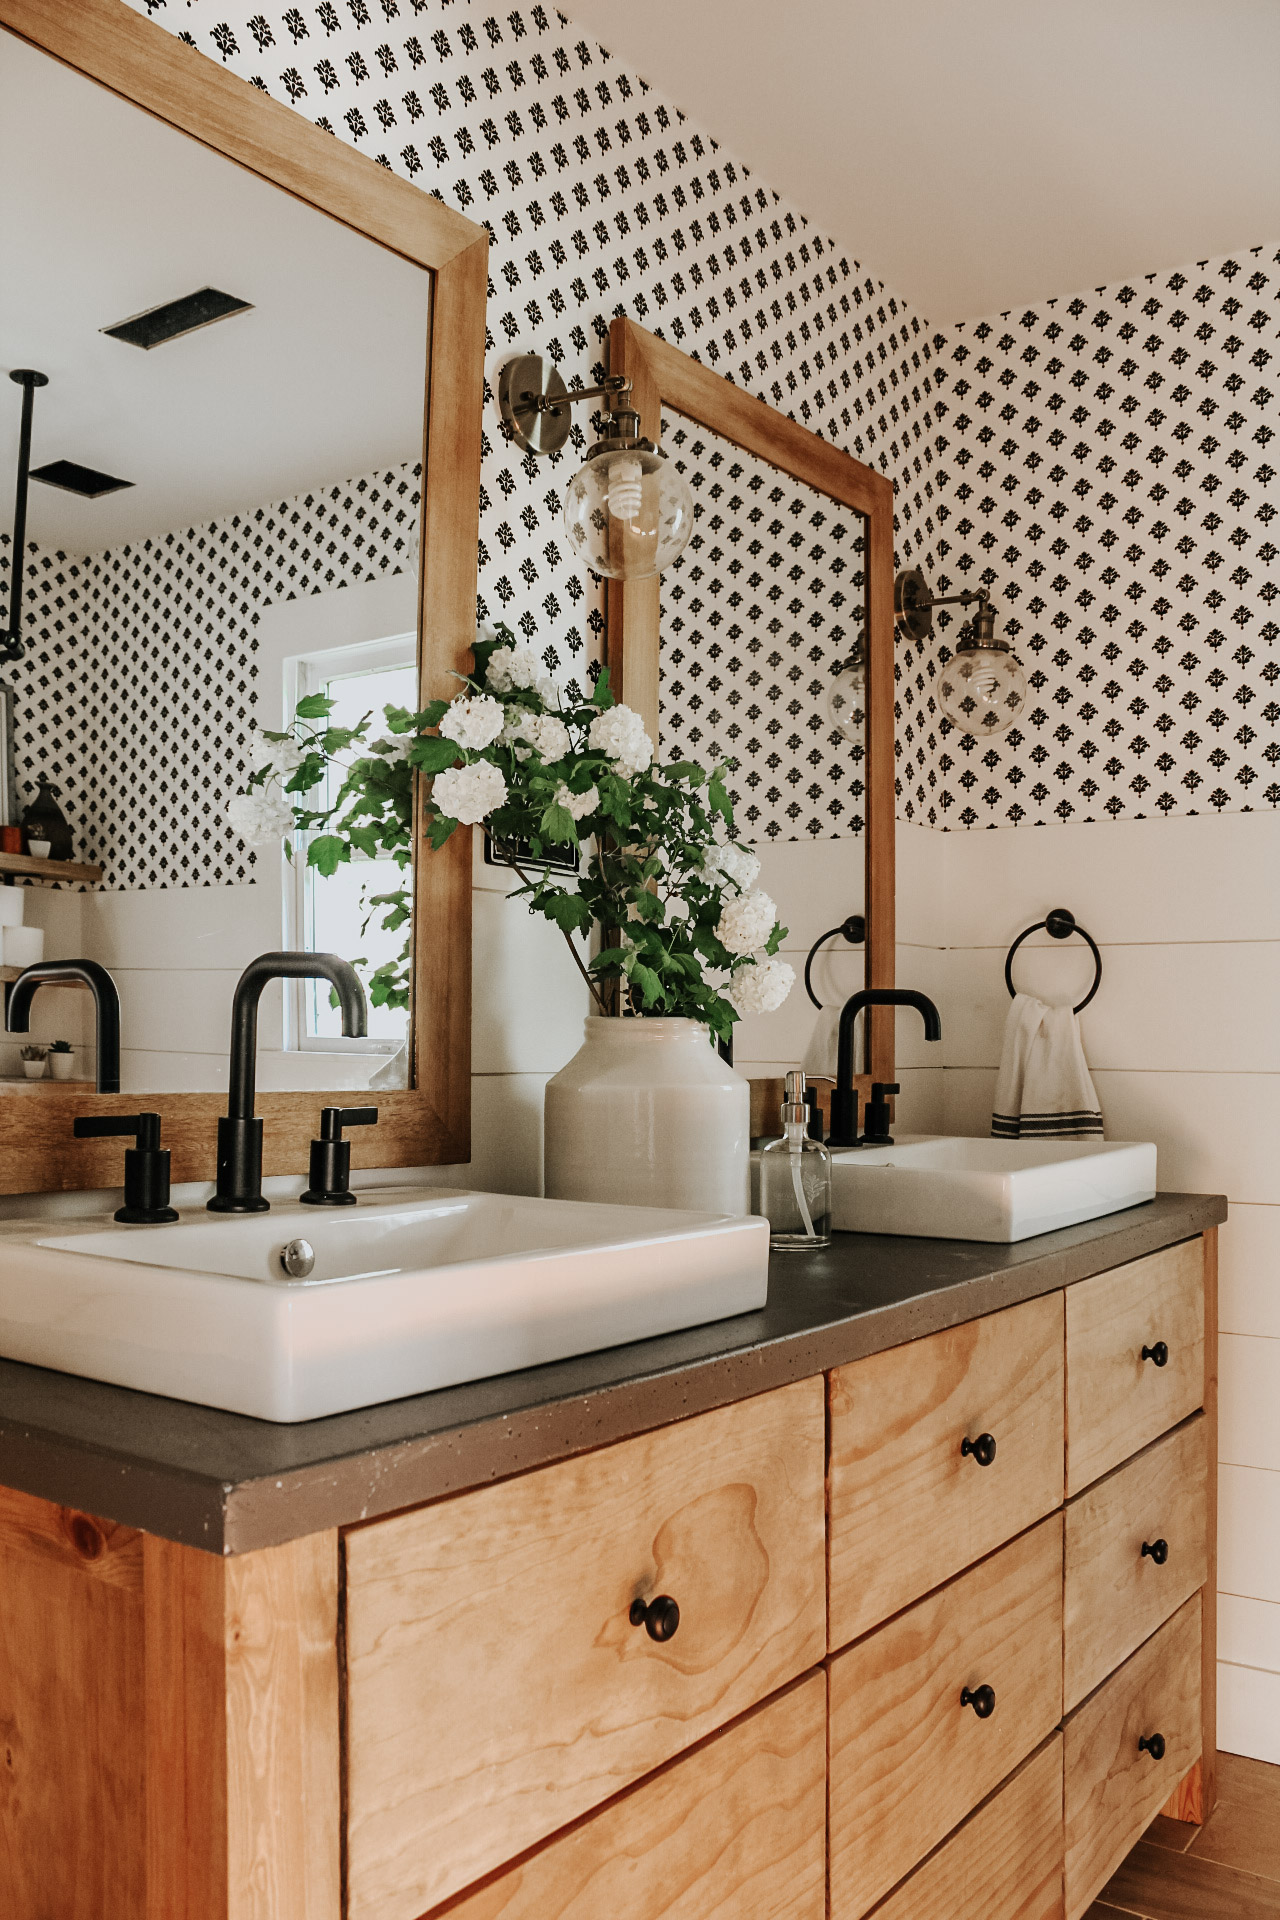
POTTERY BARN VANITY HACK

Assuming that you’re bouncing over from our Master Bathroom post, we are just going to get right into the good stuff! However if you’re not, welcome! And be sure to check out this bathrooms entire renovation at the end!

I do want to preface, I am not Ana White and we are not really “DIY bloggers” so this might be a little bit of a mess or hard to understand if you’ve never built anything before. Bobby and I’s dynamic works like this: I show him want I want (and I have no idea how to achieve it) and he knows how to achieve it or watches YouTube until he understands and only asks me questions about aesthetics. So it can be a little difficult to combine our thoughts for a blog post. My hope is to show how this stuff works visually and describe it in a way that makes sense! Of course if you have questions for us do not hesitate to reach out and we will answer the best we can!

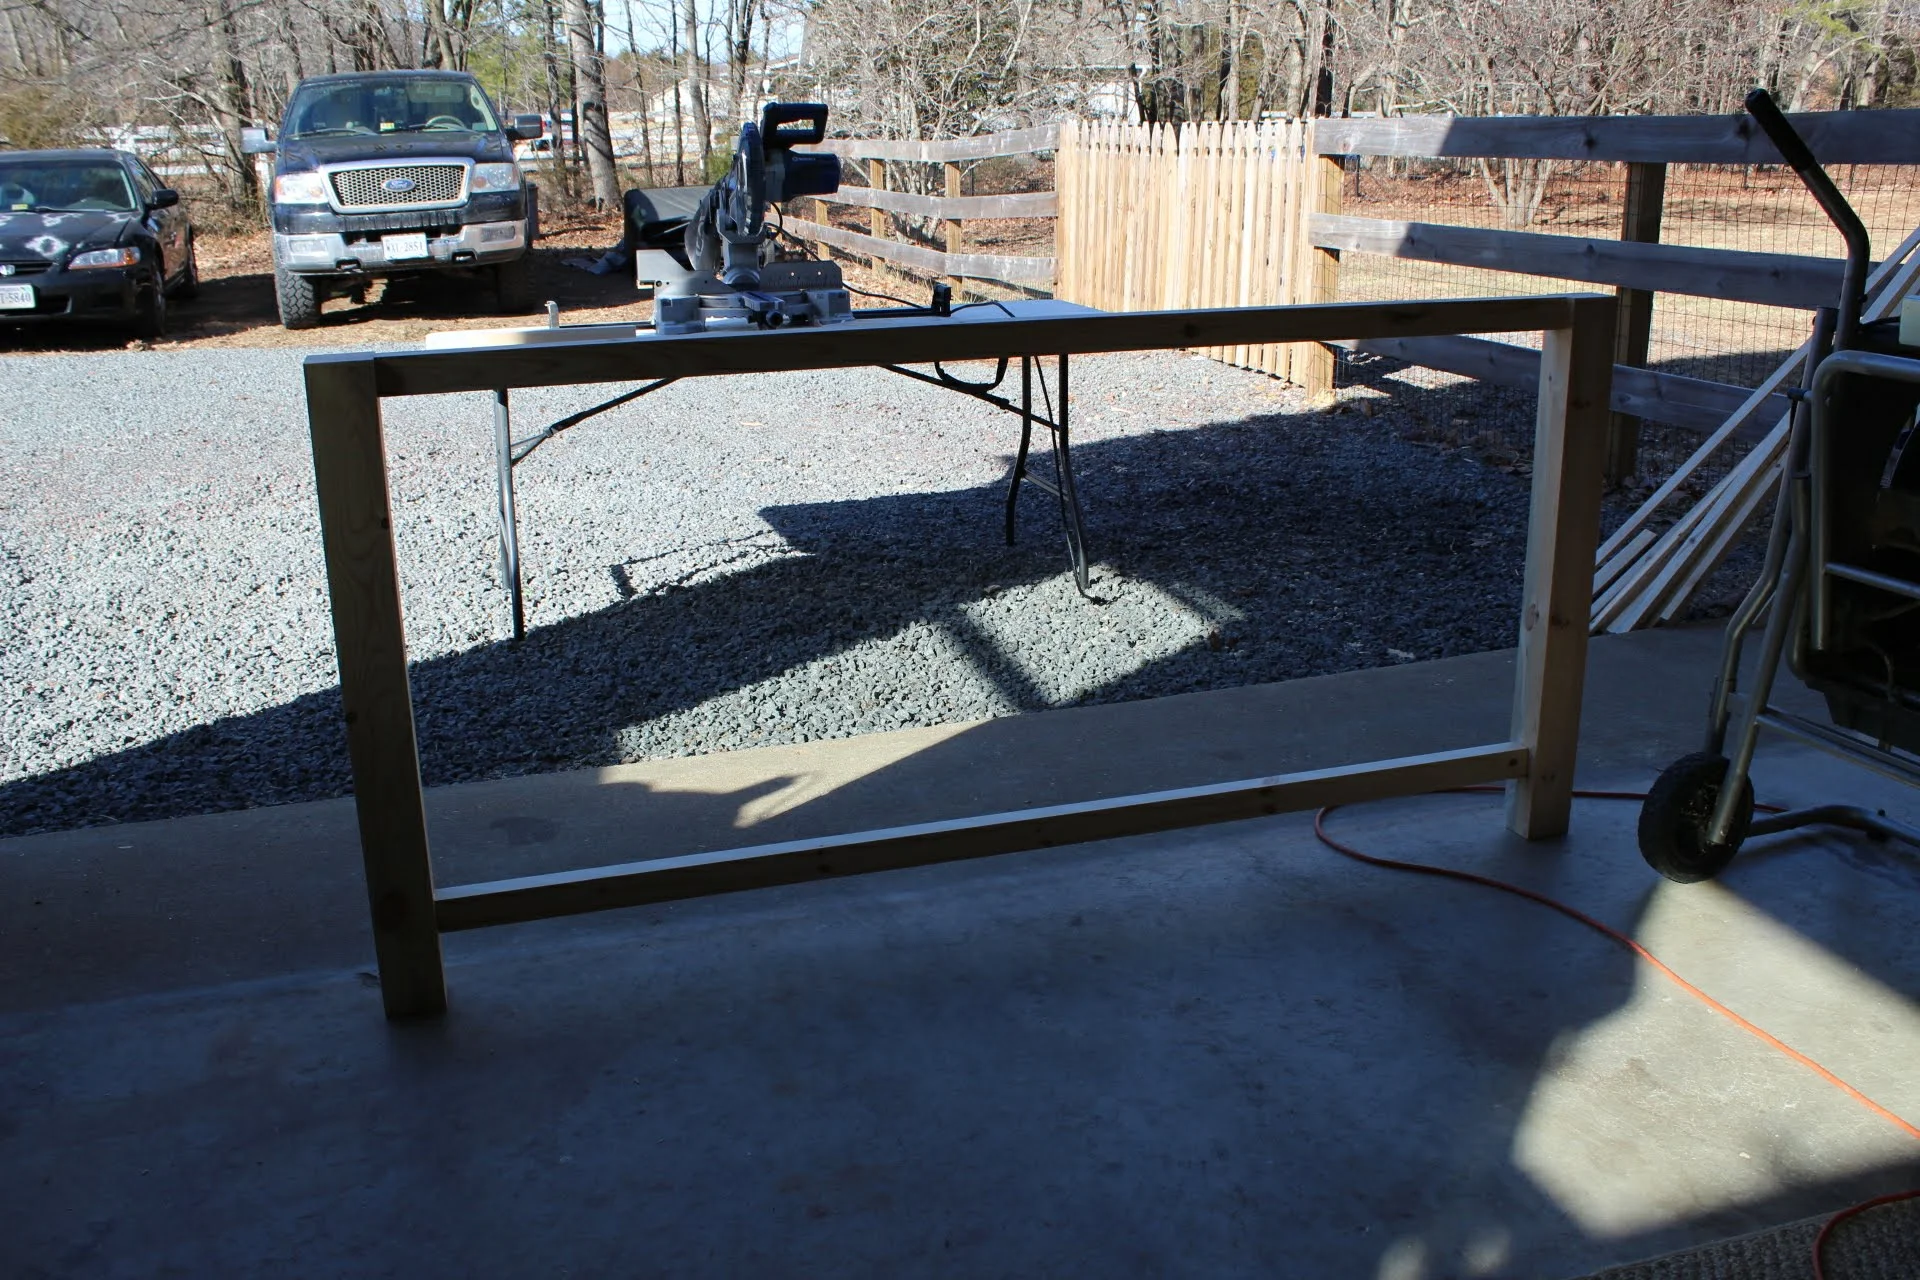
Like with all projects we started with a vision and a rough sketch. We built this vanity custom to our space, 72 x 21 - based off this Pottery Barn one above.

The wood we decided to use is pine, the legs are 2 x 4’s that we glued and clamped together and let dry over night. We then planed them down to make them smooth and squared 3” x 2 3/4”.
Next we connected the two front legs together with a beam across the top and a beam across the bottom - 4 inches off of the floor. Repeat for the back two legs as well. We put a piece of wood going up and down


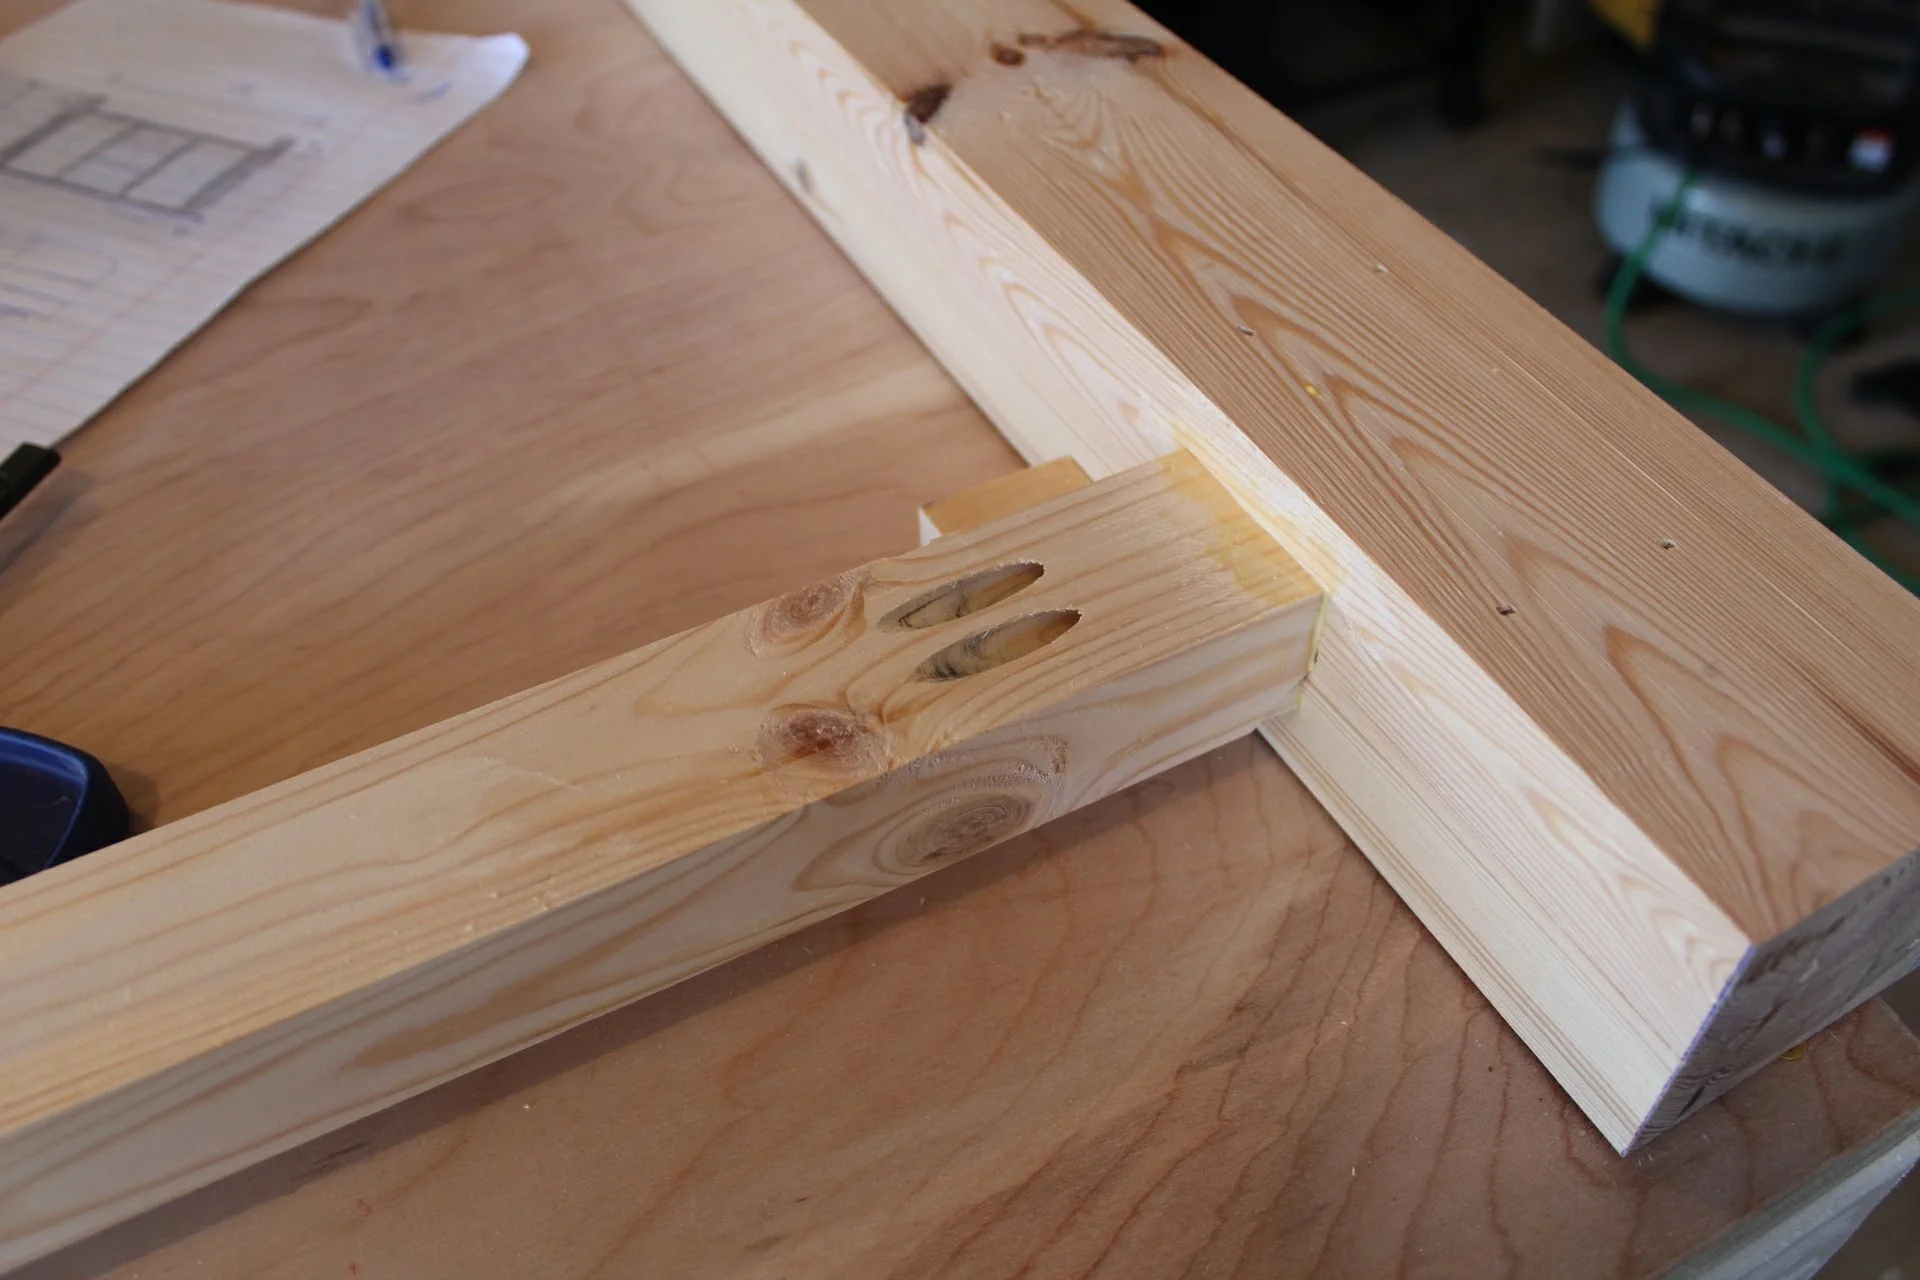
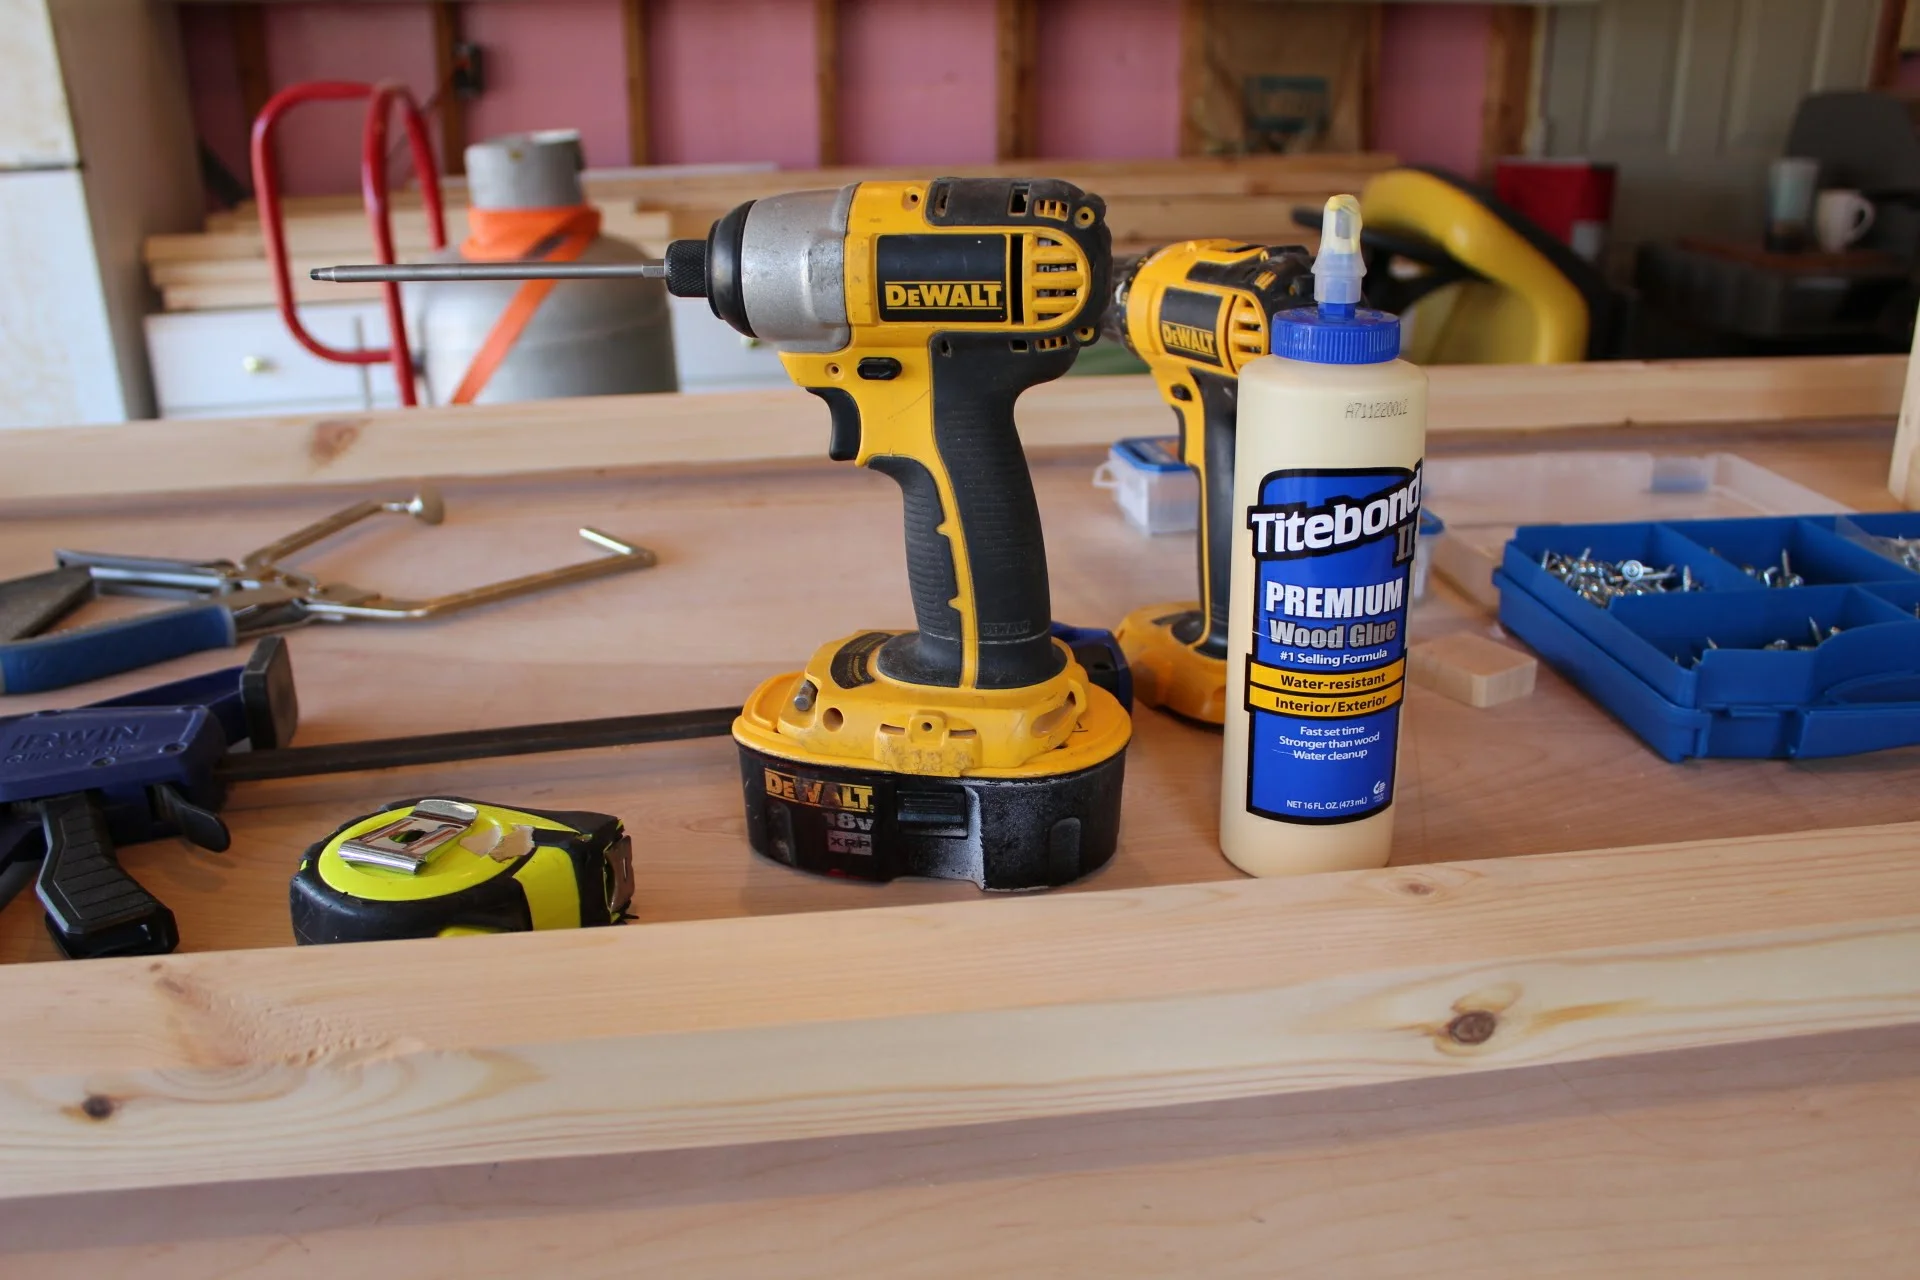
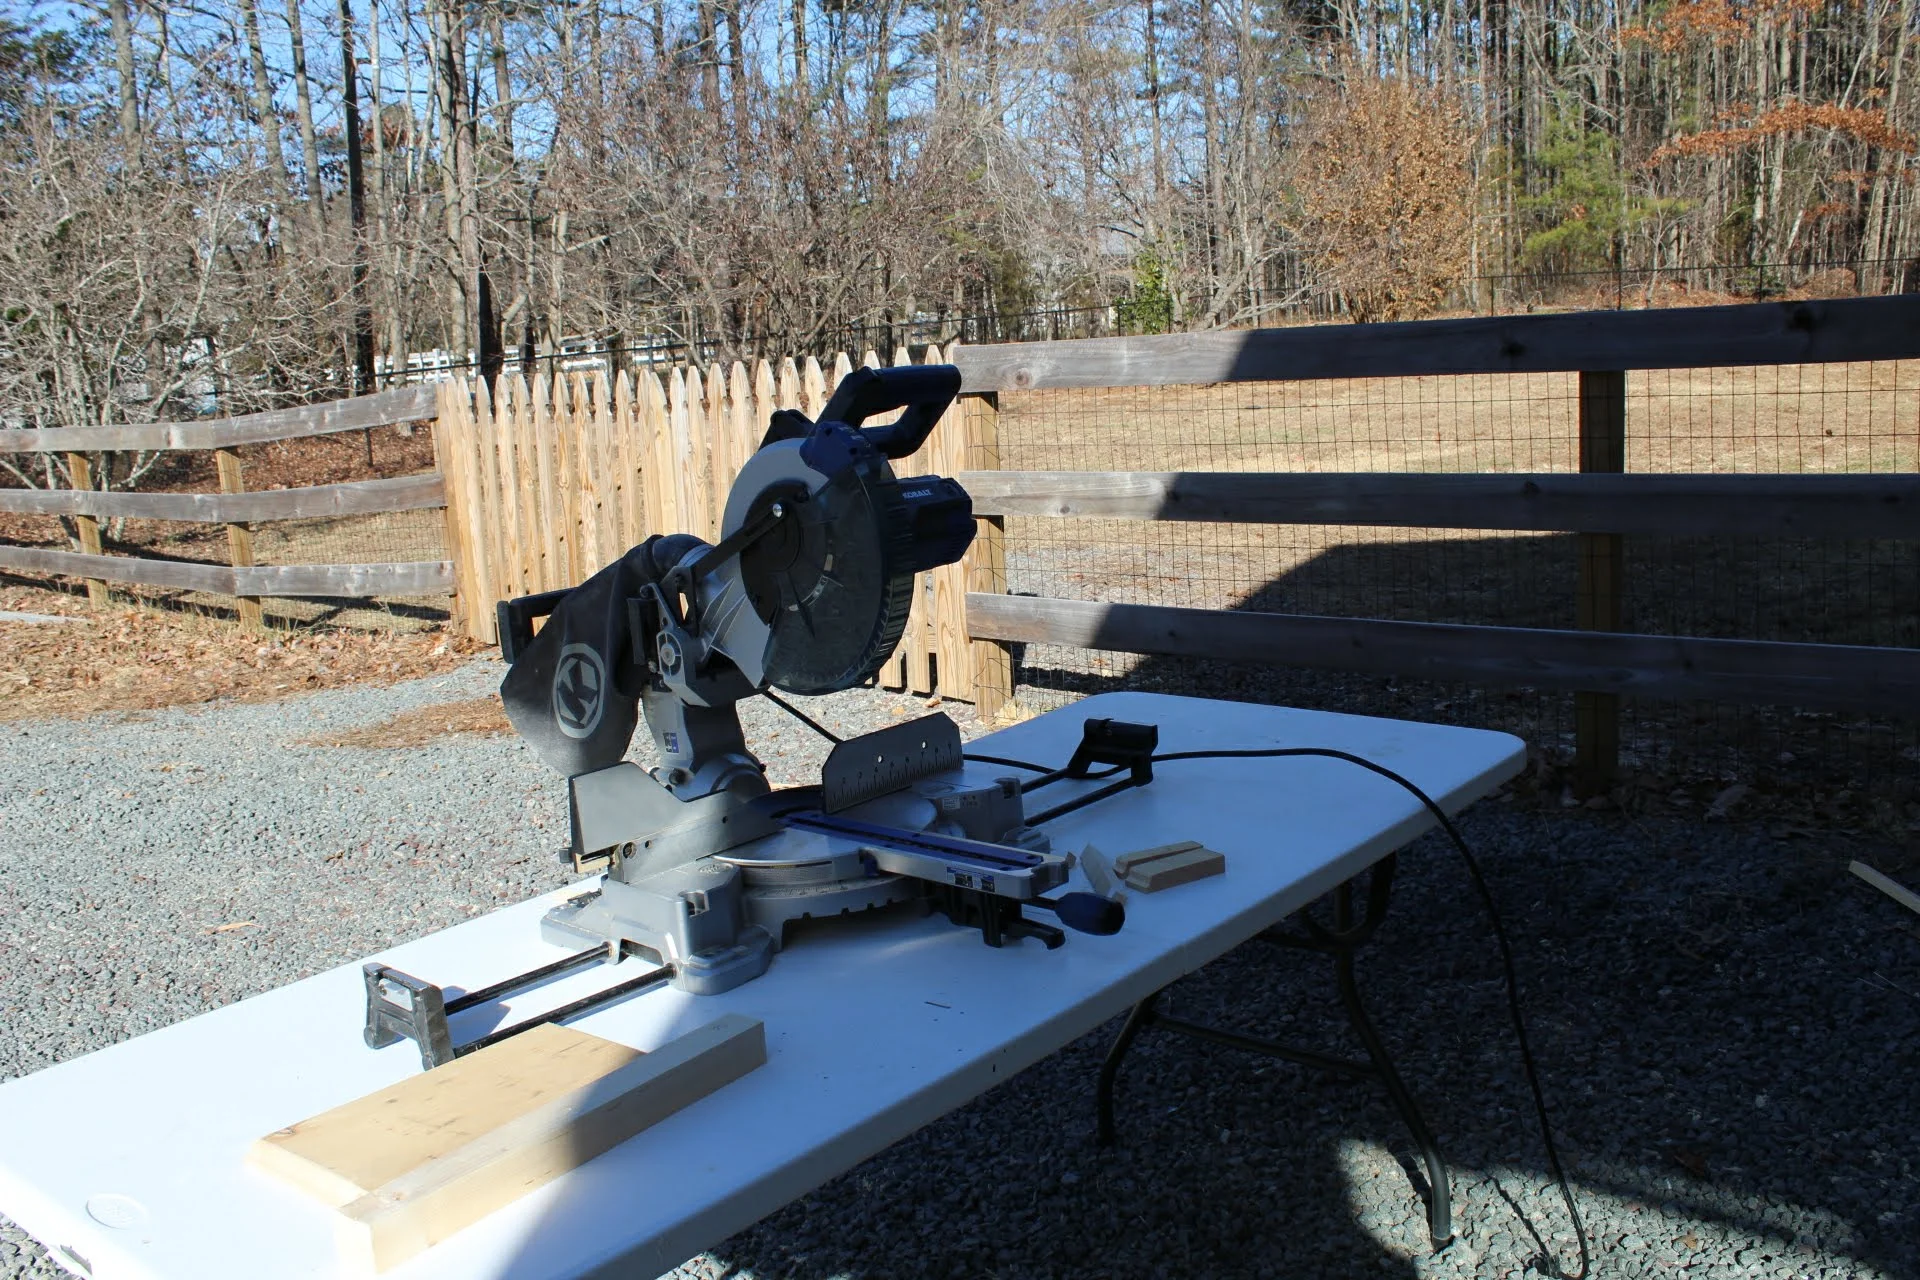
We made all of our connections using the Kreg Pocket Hole Jig K5 - with Kreg Pocket Hole screws and titebond wood glue.


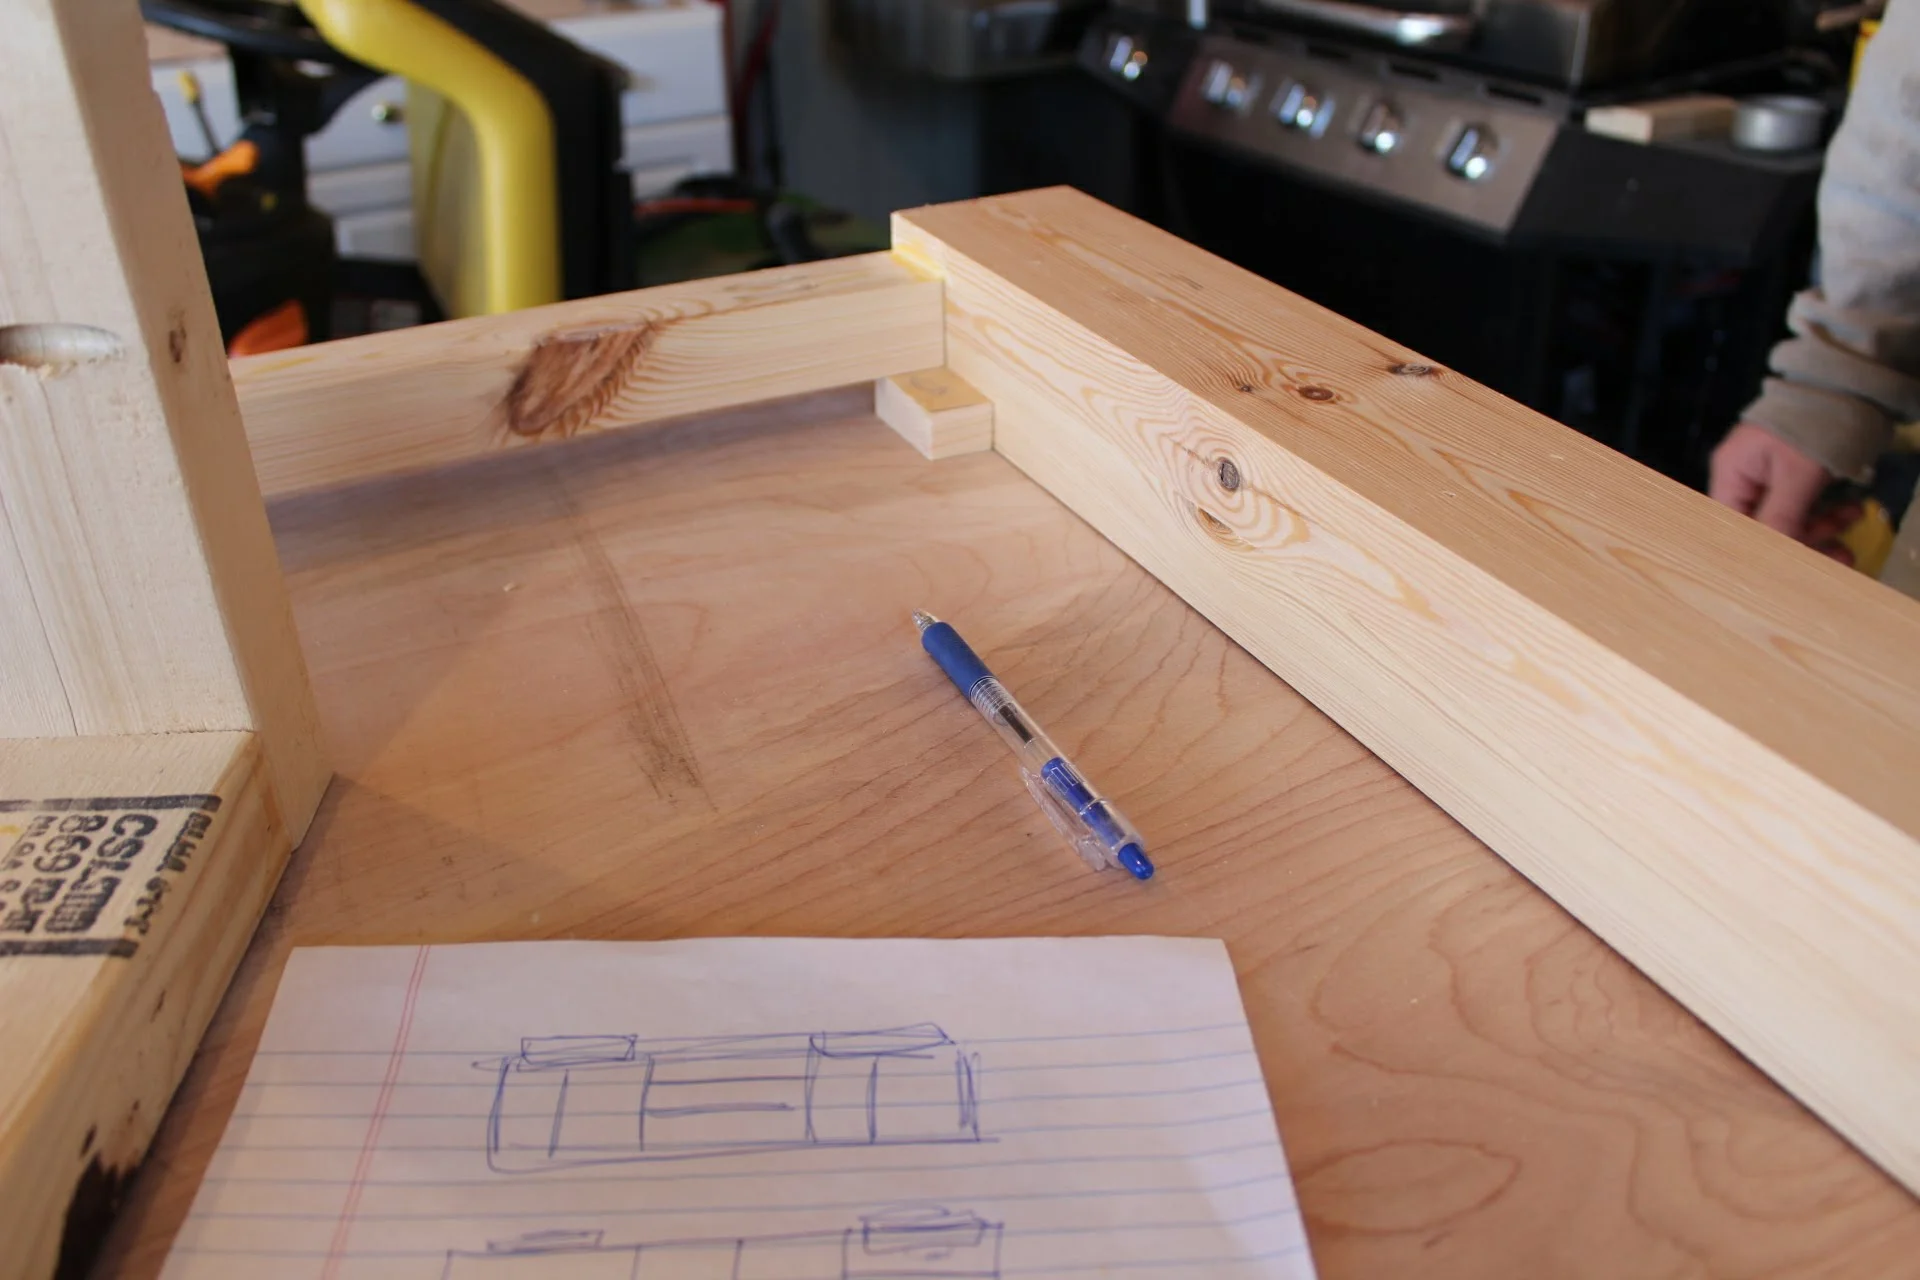
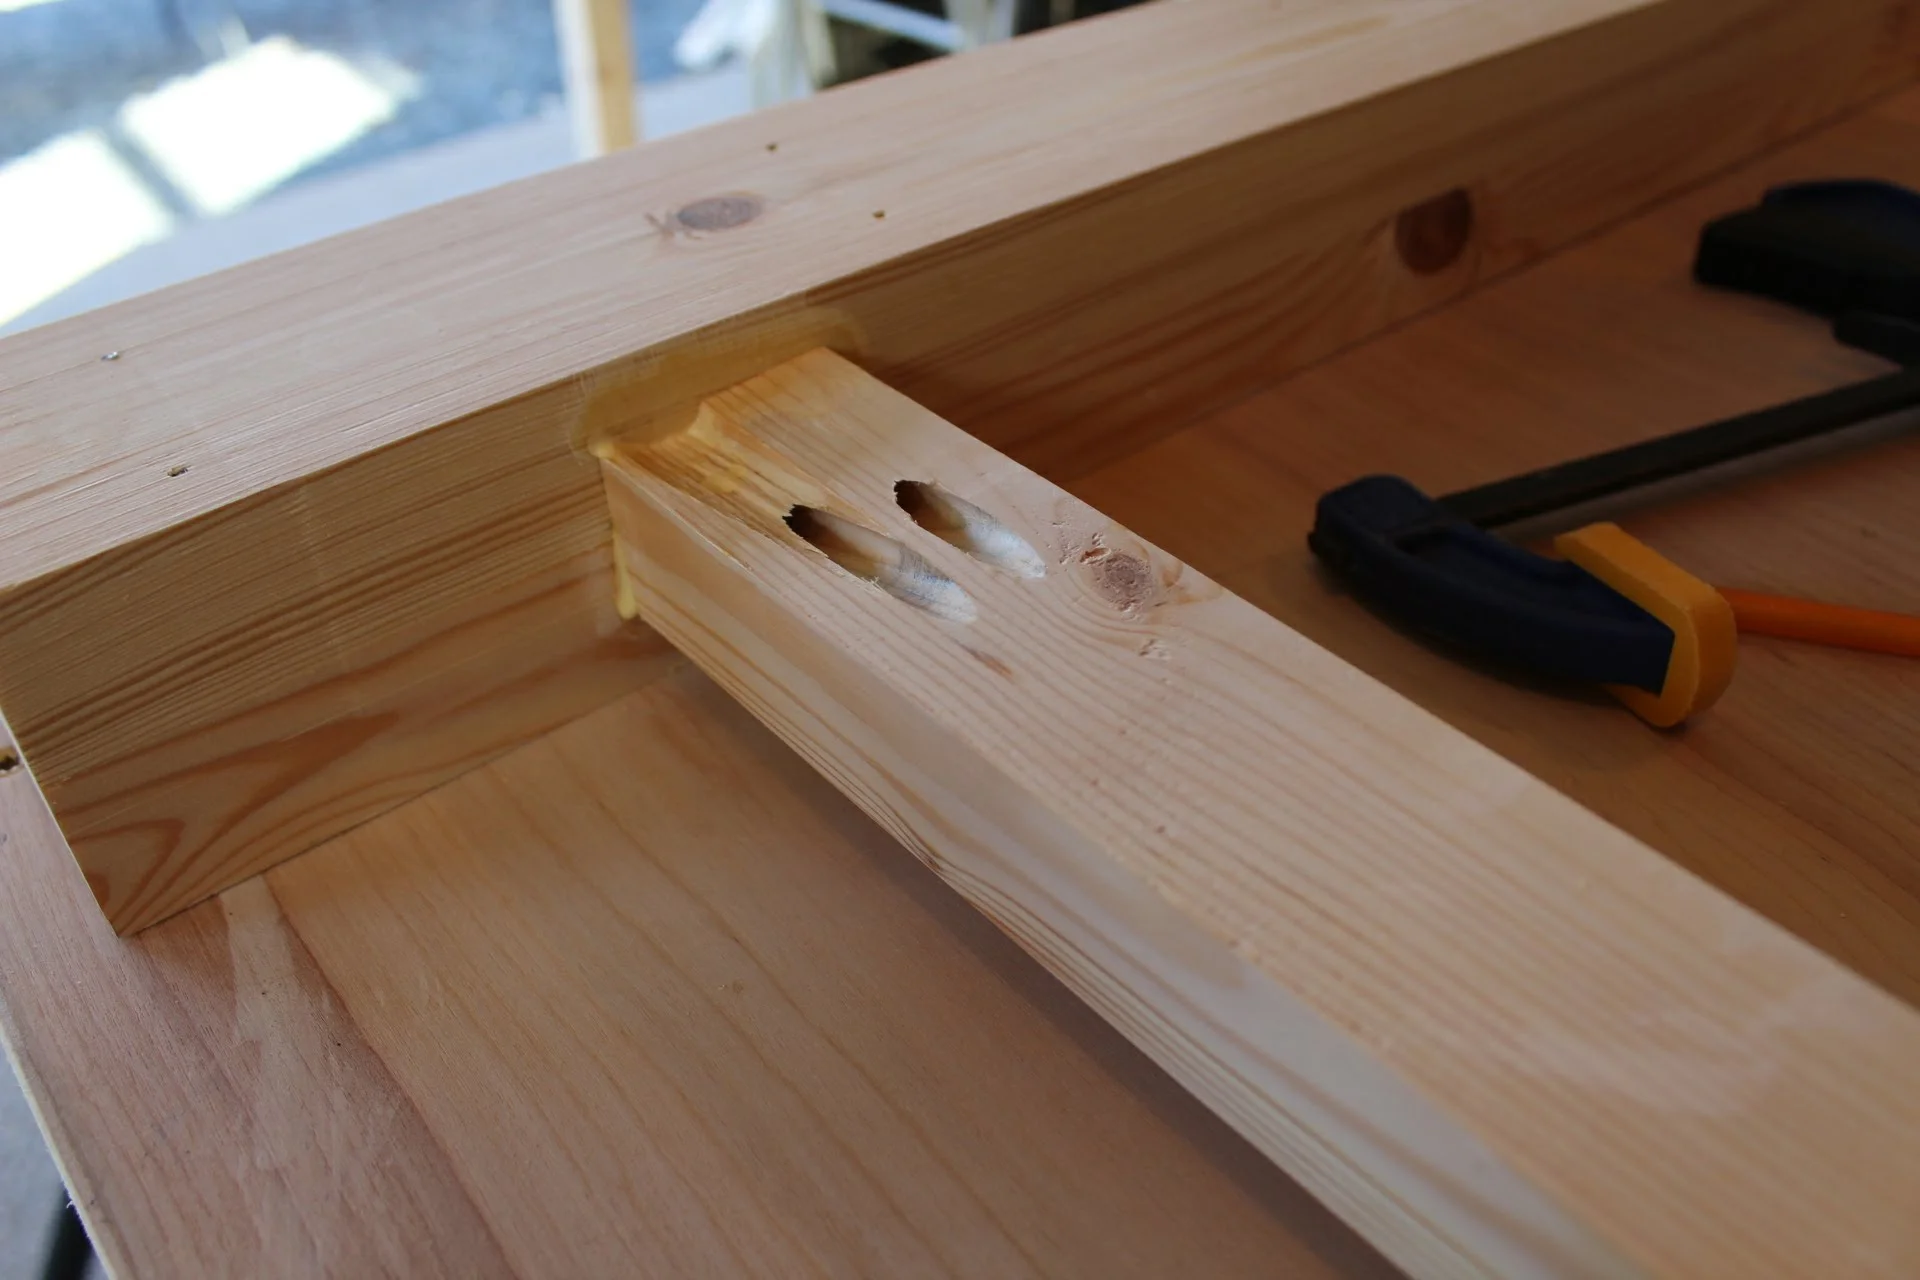
Then you can connect the front frame and the back frame with a 15 in long piece which gave us a total depth of 21 inches.
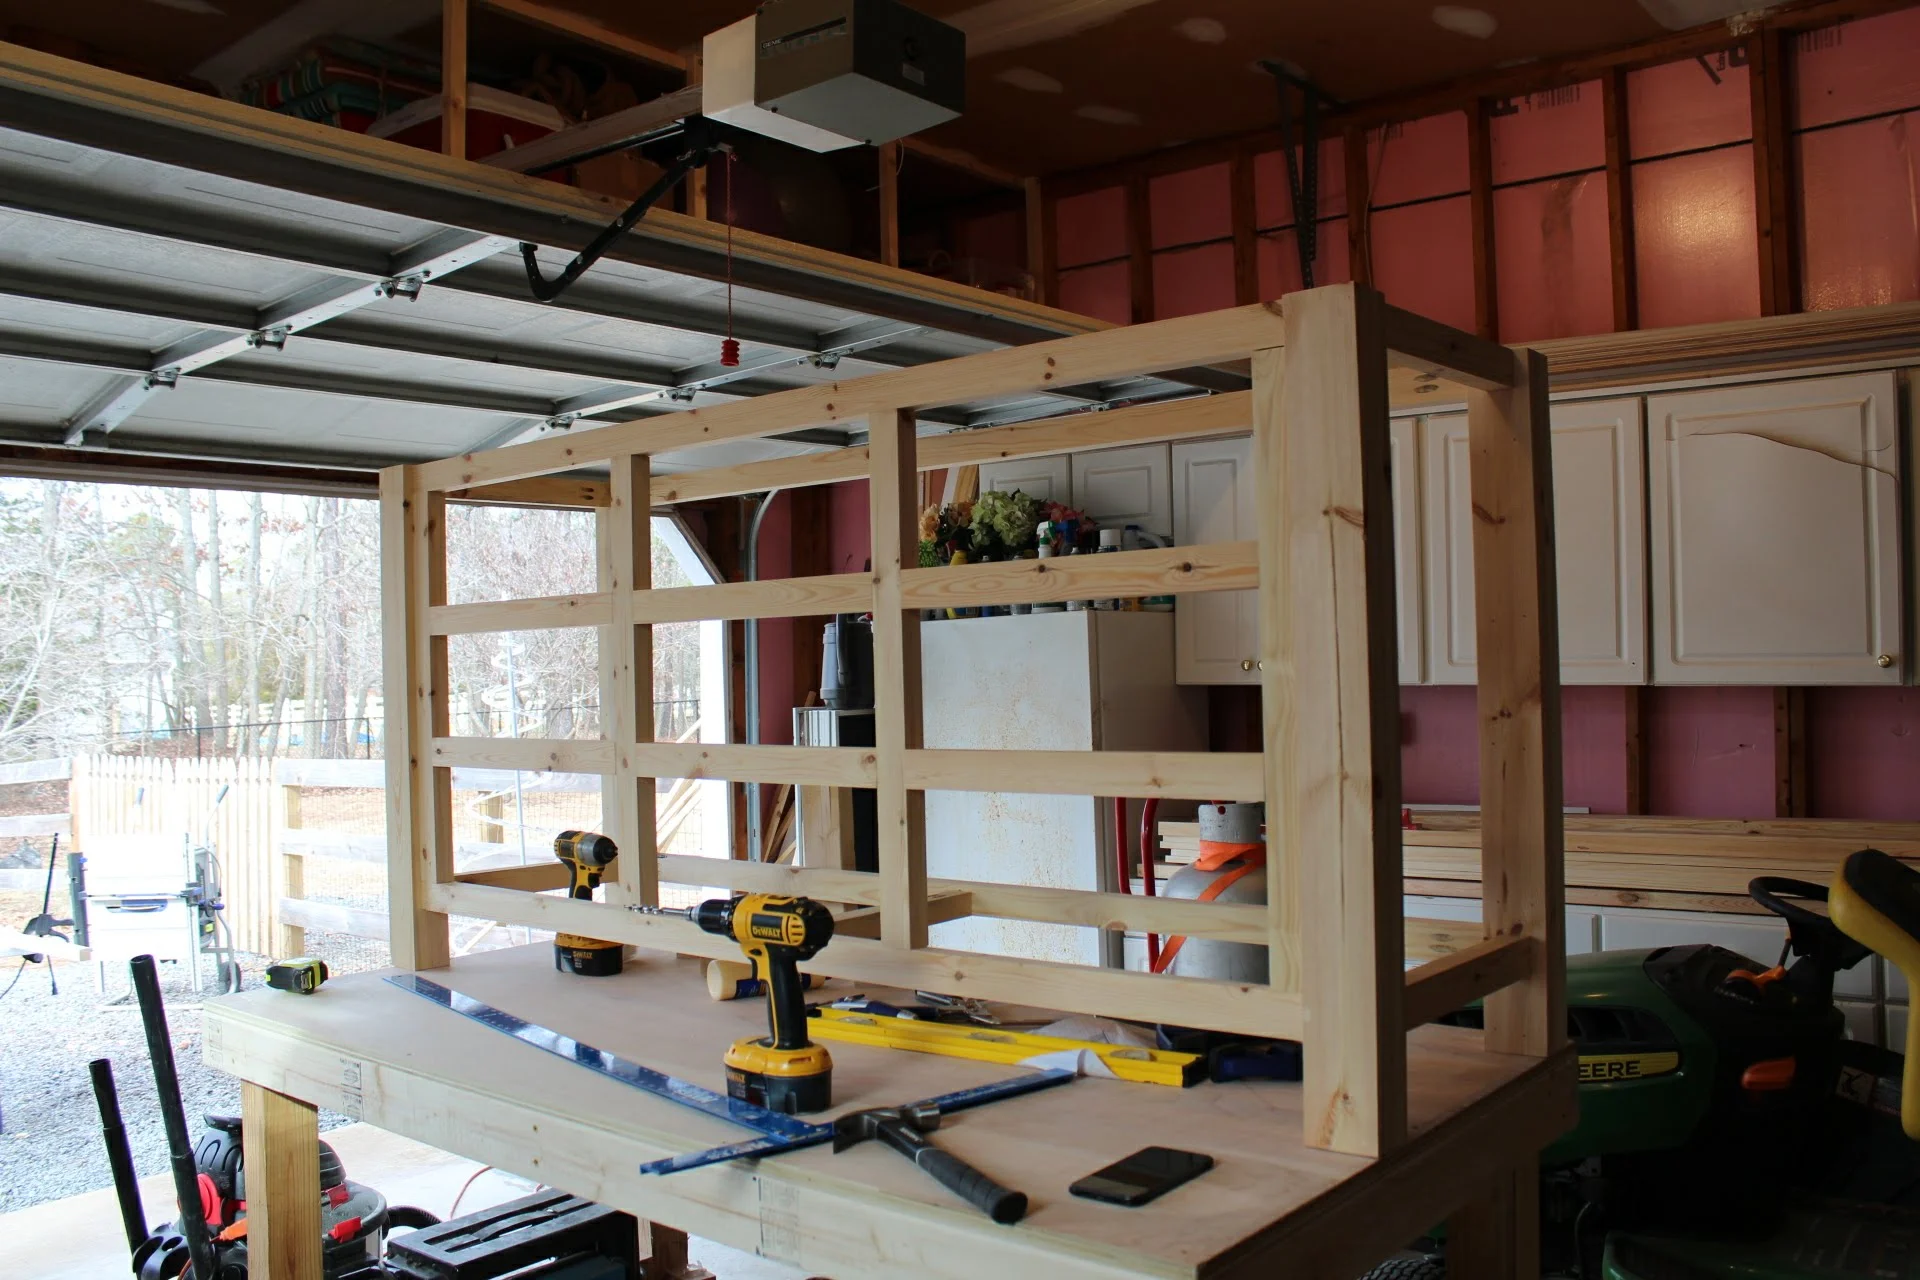

Next came framing out the holes for each drawer and creating the side panels - to enclose the sides we used 2 x 4 pine plywood.

We then installed 20” side mount drawer slides from Lowe’s on the inside of each box. The directions on your drawer slides will tell you how wide to make them, ours recommended an inch smaller than the opening, so 2 x 8.

For the drawer fronts we used pine board cut to length, sanded and stained. Our top left and right drawers are not functional due to plumbing but all others are.
After all sanding and staining we sprayed the entire thing with a water protected clear coat, we preferred the spray can version over the brush on just to ensure we we’re getting in every crevice of the piece.
Lastly was our knobs purchased from Lowe’s and we centered them perfectly with each drawer.
Concrete Countertops:
First step with concrete countertops is to get the measurement of your vanity (or surface) and add a 3/4 inch overhang.
We built our concrete form out of Melamine board, specifically because the concrete won’t stick to it.
Pick your sinks out first, sink size will determine the size of the hole / mold to build into the form.
We used a “concrete countertop” specific bag from Lowe’s
We wanted ours to be 2 inches thick. To begin: we poured 1 inch, reinforced that with rebar and then poured the remaining inch.
Screed your concrete (this was honestly the worst part and we did not have full success). Basically you need to smooth out your concrete and vibrate it like CRAZY to get all the air bubbles out. We put attachments on our drills that shook the base it was resting on and used hammers to hit the bottom for a good 30 minutes. (ours still has air bubbles, we call it rustic/character..)
It was an absolute mess. Just a forewarning. This is not a clean / quick / easy DIY, clear a space and intend on it getting messy.
Also I would recommend having someone other than you and your significant other to carry the concrete counter up a flight of stairs to mount it. Bob and I somehow managed to safely lower it onto a dolly, strapped it around about 10 times and very carefully got it up there but it was really, really heavy.
Our DIY version cost us roughly $550 all said and done (faucets, sinks, mirrors included) saving us $2750!

Check out before and afters of our bathroom here.
SINKS: Linked here


