IKEA HACK: BUILT INS PART TWO


Well it only took us a few months (first post baby project) but we have officially completed part II of our living room built ins. If you’re looking for initial steps and building the look you’ll want to read this post. If you’re interested in furthering the custom look and trim details - you’re in the right place.
We recently decided to hunker down in our home and stay for a while. When we initially moved into this house, the plan was to live here two years and sell; so we renovated, but with always keeping in mind resale and return on investment. While we aren’t completely throwing that mindset out the door, we are focusing more on what we want in a home and trying to bring in more of elements specific to us rather than the masses. Life is too short, why pay a mortgage every month in a home you don’t love?
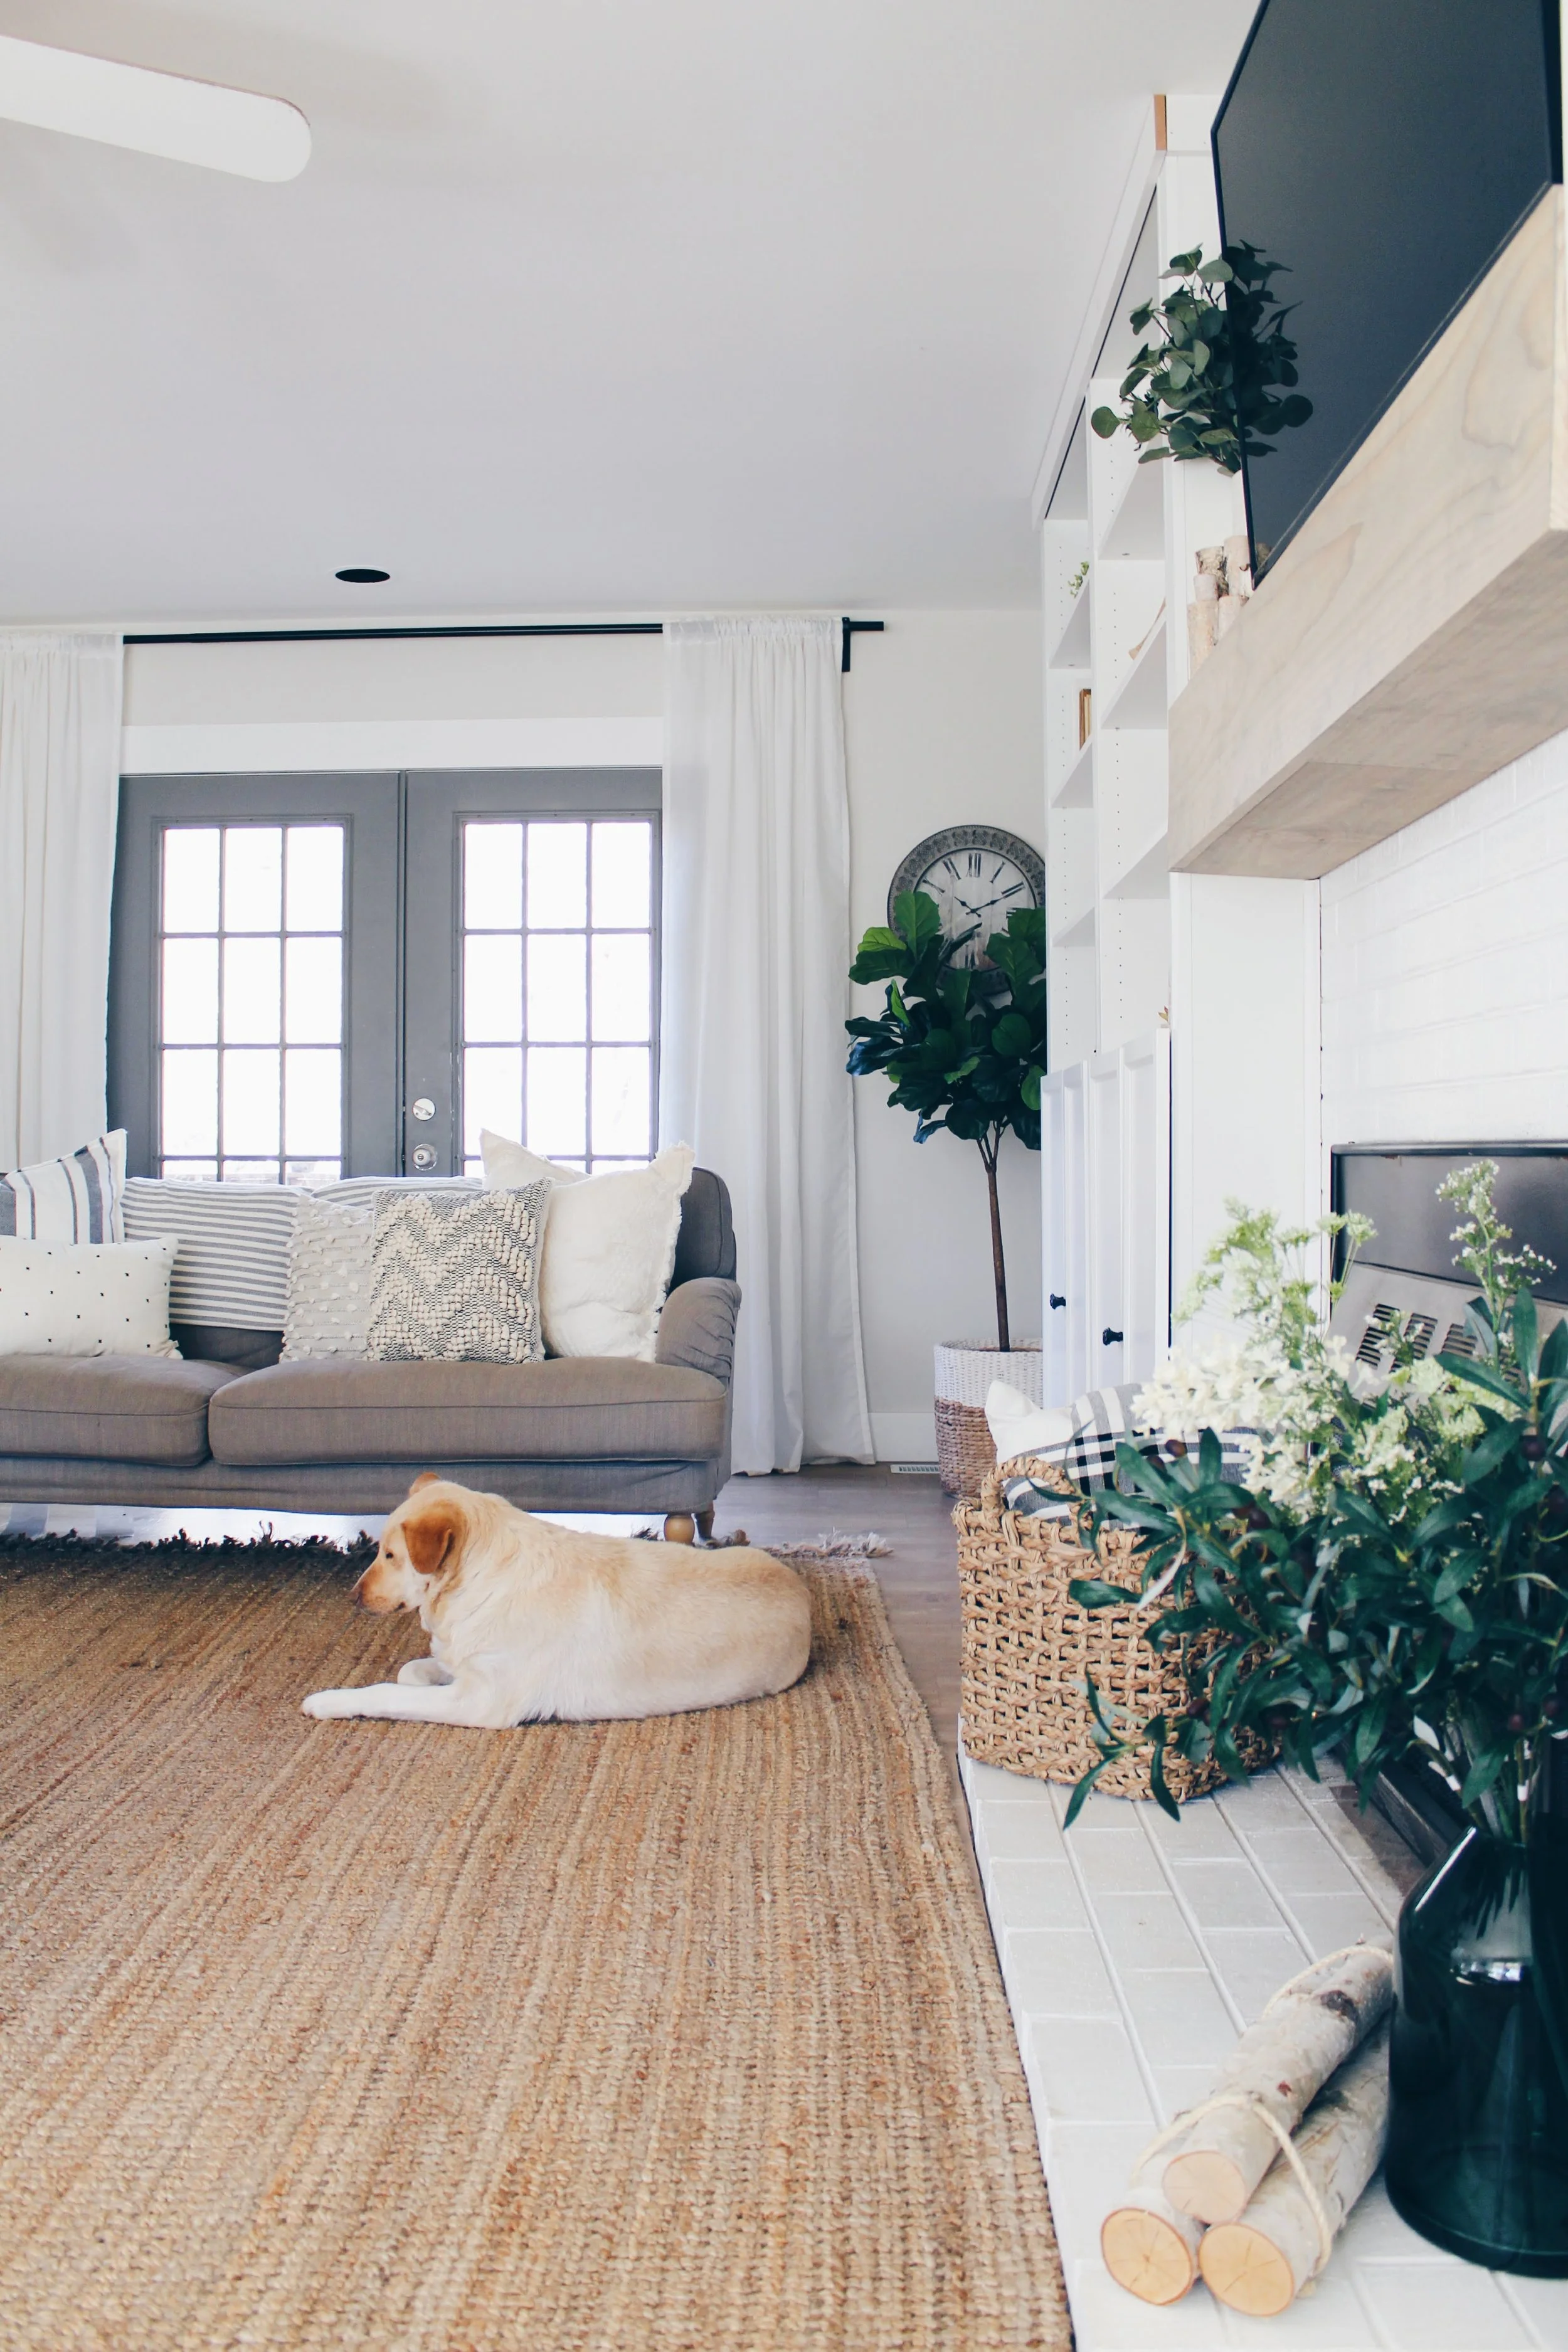
For us this means vintage, classic, eclectic, unique character. We wanted these built ins to look less IKEA and more original to the home. We want people to question how long this home has been here when they walk into it. So after a lot of studying we landed on this design. The clean lines with the added detail is just enough to take it to the next level without being over powering. I also now want crown molding in the entire house..

Adding the trim pieces was incredibly simple, ours were the perfect width so we literally just layed them on top and finish nailed them all in. The crown molding was the first thing we installed, them our decorative squares, and last the vertical trim so we could just cut excess off the bottom rather than trying to get the measurement exact.
Step 1: Liquid Sandpaper
This stuff is life changing. Literally no sanding required, just wipe on your surface that you’re going to be repainting and it does all the work for you.

Step 2: Caulk Everything
I think caulking was the longest part. We caulked every single hole that comes in an ikea billy bookcase, every seam where a shelf meets the side and back and of course all of the trim work. This 4 in 1 spackle tool is my favorite and so handy when patching small holes. We did use a traditional caulk gun for the shelf and trim parts.

Step 3: Paint!
We opted to paint them in the wall color - Benjamin Moore classic grey but in a satin finish. We are really enjoying everything being the same colors in our spaces lately (Vivienne’s room and the bathroom that’s not quite done yet). It somehow feels very vintage and modern at the same time? That probably makes no sense. It’s just a really cool vibe, and added bonus makes the room feel SO much bigger because your eye just keeps moving.
2 coats of paint on the entire thing did the trick and already it’s SUCH an improvement. We’re not done though..


Before
and seriously lacking vintage


We instantly stood back and loved the way the shelves turned out, but immediately said the fireplace portion now looks awful. So we decided to take our gas insert out and wow. I never realized what an eyesore it was to the entire room. (I mean, I knew.. But not to this extreme..) We painted in the inside of the fireplace with this high heat paint, added some faux logs + candles for now but I can’t wait for a real fire in this beauty. We also decided to continue with the trim work + details onto the mantle portion and ditch our previous “farmhouse” one.

Here’s the mantle breakdown in a super simple format:


We wanted to add some bulk to the “posts” so we added pieces to go behind the decorative ones first and corner round to give the plywood a nice clean finish.

We recommend nailing these on the outer sides, nailing it in the middle can bow the wood.

Here’s the secret cord door fully installed! Now just caulk + paint.

Before

After


Conclusion
We’ve discovered in the past year or so that we have some serious love for traditional design. I fully understand some people who have been following from the beginning may be more inclined to prefer the before version, but we are pretty over joyed with how this turned out. The character that you can achieve in just trim work is remarkable and so inspiring.